# HTML Head Tag Explained
In last week's blog post [`Basic HTML structure explained`](https://blog.roccosangellino.com/basic-html-structure-explained) I covered the basics of HTML structure. In this article let's go more in-depth on the purpose of the `head` tag.
Table of contents
- [What is the head tag?](#what-is-the-head-tag)
- [Title Tag](#title-tag)
- [Meta Tag](#meta-tag)
- [Link Tag](#link-tag)
- [Style Tag](#style-tag)
- [Script Tag](#script-tag)
- [Conclusion](#conclusion)
## What is the `head` tag?
The `head` tag is a container that holds metadata about the document. Metadata is information that describes other data. For example, the author or created date associated with this blog post would be considered metadata. The information we place in the `head` tag is not visible to the user. The data in the `head` tag can be used by the browser to set the document title, character set, styles, scripts, author, keywords, and other data we will see below.
Basic example:
```html
My awesome document title
...
```
Let take a look at `title`, `meta`, `link`, `style`, and `script` more in-depth.
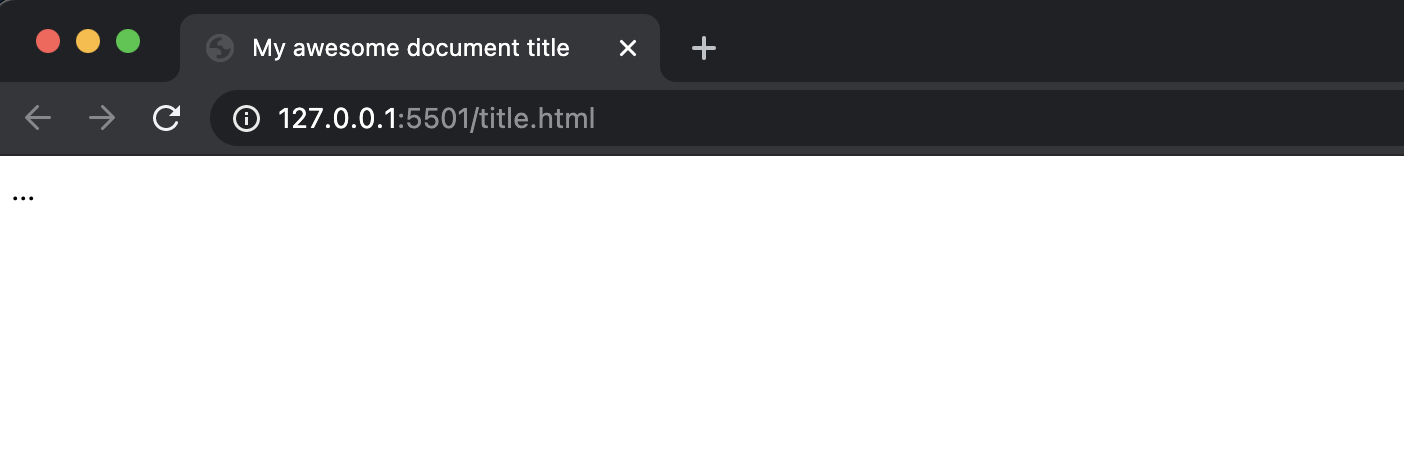
## `title` Tag
The `title` tag sets the title of the document. The title is displayed in the browser tab.
```html
My awesome document title
```
## `meta` Tag
The `meta` tag allows you to add metadata about a document. The data is not visible to the user but used by browsers and search engines. The browser may use the data to determine content about the site such as character set and viewport. You can also target search engines by using the `meta` tag to add keywords to the site.
Let's say I want to enhance my SEO rankings by adding some keywords to my site. Below is an example of how we can use the meta tag to achieve this.
```html
```
**NOTE:** `name` and `content` are attributes. Attributes allow us to provide the extra data needed. Think of attributes as key/value pairs where `name` is the key and `keywords` is the value. I will go more in-depth on attributes in a future article.
To build on our example above let's provide the author of the document.
```html
```
To help to ensure the site renders properly on different devices we can tell the browser how to control the dimensions and scaling of the site. We do this by adding the attribute `name` with a value of `viewport` to the `meta` tag.
```html
```
As you can see the meta tag is powerful. It helps us provide the browser and search engines extra data to help bolster our site.
## `link` Tag
The `link` tag is used to tell the browser the relationship between the current document and an external resource. In most cases, the external resource is a stylesheet. Another common use case is to specify the favicon of the document which is the icon of the site. To link an external resource (i.e. stylesheet), we supply the `link` tag with a couple of attributes.
For example, let's say we want to link the `style.css` resource.
```html
```
In the above example, we have two attributes `rel` and `href`. The `rel` attribute stands for relationship. We are specifying how the link is related to the current document. In this case, we want the relationship to be a stylesheet. The `href` attribute specifies the location of the resource. In this case, the resource is located in the current directory of the site.
Before moving on let's take a look at one more example:
```html
```
In this example, we are specifying the relationship of the link to the current document to be an icon. Next, we provide the path to the icon in the `href` attribute.
There are many more attributes that can be provided. A full list can be found at [developer.mozilla.org](https://developer.mozilla.org/en-US/docs/Web/HTML/Element/link).
## `style` Tag
The `style` tag allows us to add styles to the document without linking to an external resource. Often you will see `type` and `media` attributes on a `style` tag. There are a few others however, type and media are most popular.
```html
...
```
In the above example, I supplied the `type` attribute, however, modern browsers will use `text/css` as the default value if `type` isn't supplied.
**NOTE:** For a more in-depth list you can check them out at [developer.mozilla.org](https://developer.mozilla.org/en-US/docs/Web/HTML/Element/style).
## `script` Tag
The `script` tag provides two ways to include JavaScript in our websites. Similar to the `link` tag we can link to an external resource or similar to the `style` tag we can include code right in the document.
To link to an external resource, we must provide the `scr` attribute to the `script` tag. The `src` attribute tells the browser where it can find the resource.
```html
```
Below is an example of adding the code in the current document.
```html
...
```
Also, the `script` tag can be used in the `body` tag. Using it in the `head` tag is just one option.
**NOTE:** The `script` tag can be used with other languages and has many more attributes. For more in-depth information you can check out at [developer.mozilla.org](https://developer.mozilla.org/en-US/docs/Web/HTML/Element/script).
## Conclusion
In this article, we continued our discussion on basic HTML setup by exploring the use of the `head` tag. While there are many more attributes and use cases to be learned this information should get you started. Be on the lookout for more HTML articles in the weeks to come.
If you haven't already please follow me on [Twitter](https://twitter.com/RoccoSangellino) where I share more information on web development.