


When building a website using WordPress often times you will want a development environment to work with before pushing to production. There are a few different ways to achieve this goal. In this article we are going to see how to setup WordPress using docker. This article will assume you are somewhat familiar with WordPress and using either a Mac or Windows machine. If you are unfamiliar with WordPress please check out wordpress.org for more details.
- What is Docker?
- Container
- Installing Docker
- Setting up WordPress
- Stopping the WordPress Container
- Conclusion
What is Docker?
NOTE: If you are familiar with Docker you can skip this step.
First let's briefly talk about what docker is. According to the docker website:
Docker is an open platform for developing, shipping, and running applications. Docker enables you to separate your applications from your infrastructure so you can deliver software quickly. Docker provides the ability to package and run an application in a loosely isolated environment called a container.
I bolded the word container because it's worth noting that docker itself is not a container. It provides the means to run containers (more on containers below). You will often come across docker being talked about as if it were a container. One reason for this is:
Because of the popularity and explosive growth of Docker in the community, it has become synonymous with containers. The term “docker” can refer to the software as a whole, the command line application, the company, or interchangeably with the word “container”.
A friend of mine, Rob Sigrest (learn more about him on his github page) gave a presentation and came to that conclusion above with his experience in the industry.
Container
NOTE: If you are familiar with what a container is you can skip this step.
Now that we know docker is the software that can run a container what is a container? According to the docker website:
A container is a standard unit of software that packages up code and all its dependencies so the application runs quickly and reliably from one computing environment to another.
In simplest terms, a container allows you to run your application code segregated from other code on your system. This eliminates the need to install all of the necessary dependencies on your local machine. For example, as we will see later I use docker to run WordPress without having to install all the dependencies WordPress requires such as apache, php, and MySQL.
A major benefit Rob mentioned during his presentation is a container images can be run on any platform with a compatible container runtime. So for example, you could run containers in production on a Linux system but develop them using the same container runtime (like Docker) on Windows or Mac.
Installing Docker
Now that we got the definitions out of the way let's get to the fun part, installing docker and running WordPress.
NOTE: If you already have docker installed you can skip this step.
- Download and install docker desktop here
- Follow the instructions all the way through. At some point in the installation it will ask you for your system password. You will need to provide docker with your password because docker needs elevated permissions to perform some tasks.
Side Note:
When docker desktop is installed it will install a tool called docker-compose. This is important because we will be using this to run our containers.
Compose is a tool for defining and running multi-container Docker applications. With Compose, you use a YAML file to configure your application’s services. Then, with a single command, you create and start all the services from your configuration. - Docker website
Setting up WordPress
Now that we have docker and docker-compose installed let's get WordPress up and running.
NOTE: If you already have a location where you like to create your projects you can skip steps 1-3 and navigate to that directory.
Open your terminal and type the following command:
Mac
cd ~/Windows
cd %userprofile%The above command will change directory (
cd) to our home folderCreate the Projects directory
mkdir ProjectsThe above command will create a directory (
mkdir) calledProjectsin our home directory.Change directory to Projects
cd ProjectsCreate the WordPress directory inside the
Projectsdirectorymkdir wordpressChange directory to WordPress
cd wordpressTo confirm your terminal should look something like:
Open the
wordpressfolder in your text editor. I am using VS Code.Create a file called
docker-compose.yamland enter the below contents:NOTE: It is important the file is called
docker-compose.yamlotherwisedocker-composewon't work.Source file from Brad Traversy's github
version: '3'

services:
  # Database
  db:
    image: mysql:5.7
    volumes:
      - db_data:/var/lib/mysql
    restart: always
    environment:
      MYSQL_ROOT_PASSWORD: password
      MYSQL_DATABASE: wordpress
      MYSQL_USER: wordpress
      MYSQL_PASSWORD: wordpress
    networks:
      - wpsite
  # phpmyadmin
  phpmyadmin:
    depends_on:
      - db
    image: phpmyadmin/phpmyadmin
    restart: always
    ports:
      - '8080:80'
    environment:
      PMA_HOST: db
      MYSQL_ROOT_PASSWORD: password
    networks:
      - wpsite
  # Wordpress
  wordpress:
    depends_on:
      - db
    image: wordpress:latest
    ports:
      - '8000:80'
    restart: always
    volumes: ['./:/var/www/html']
    environment:
      WORDPRESS_DB_HOST: db:3306
      WORDPRESS_DB_USER: wordpress
      WORDPRESS_DB_PASSWORD: wordpress
    networks:
      - wpsite
networks:
  wpsite:
volumes:
  db_data:
Your text editor should look something like:
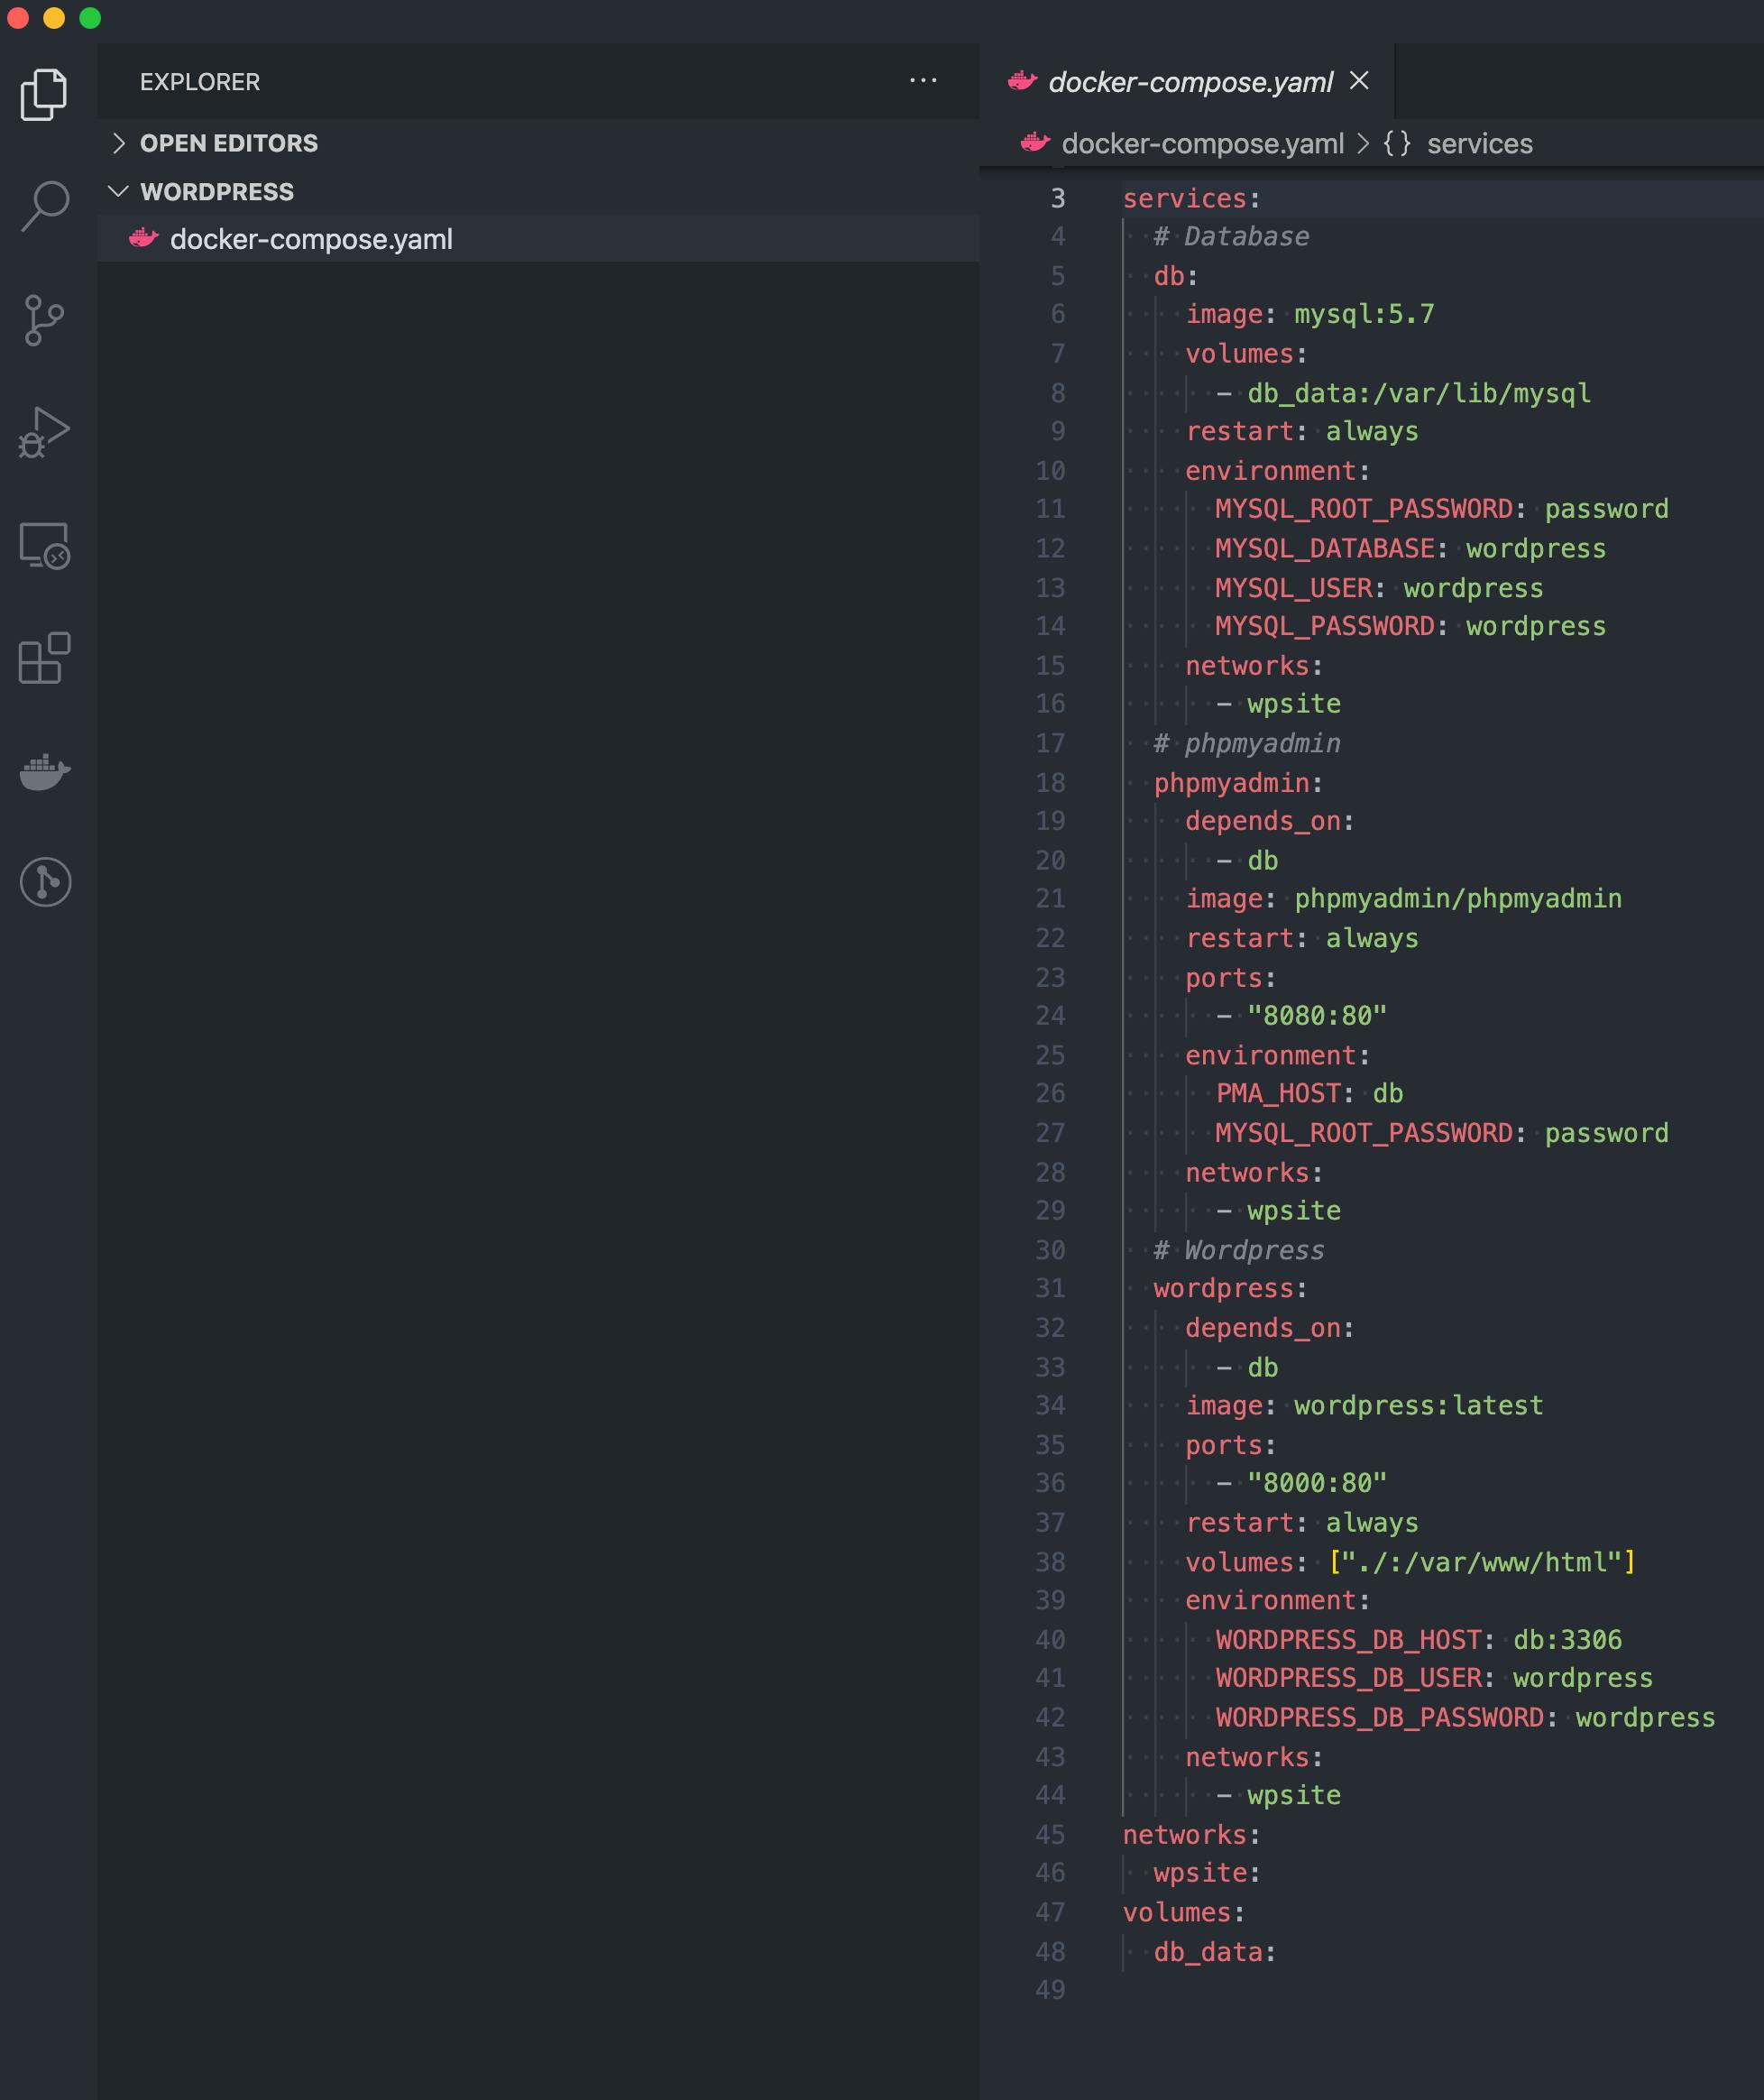
The above
docker-compose.yamlfile will pull three containers:MySQL,phpmyadmin, andWordPress.SIDE NOTE:
I won't be explaining all the properties here, however I want to take a minute and explain the
volumesandportsproperty.When we specify
volumes: ['./:/var/www/html'], what this means is docker will mount our local systems directory of., meaning our current directory (in our casewordpress), to/var/www/htmlinside the container./var/www/htmlis where the source code for WordPress is stored in the container. This will allow us to develop our plugin or theme on our local machine and be available to the container.When we specify
'8000:80'in theportssections of the config we are telling the docker to map our local system8000port to the containers port80. Port80in the container is the port our WordPress is running. However, we want to be able to access this on our local machine so we need to map a port from our local machine to the container port running the site.You can learn more about what each of these properties are at dockers website.
Let's head back to the terminal and navigate to our
wordpressdirectoryMac users
cd ~/Projects/wordpressWindows users
cd %userprofile%\Projects\wordpressNow that we are in our
wordpressdirectory let's start up our containersdocker-compose up -dThis step might take a few minutes as docker will need to pull all the above images from our
docker-compose.yamlfile. You should also see output in the terminal that looks something like: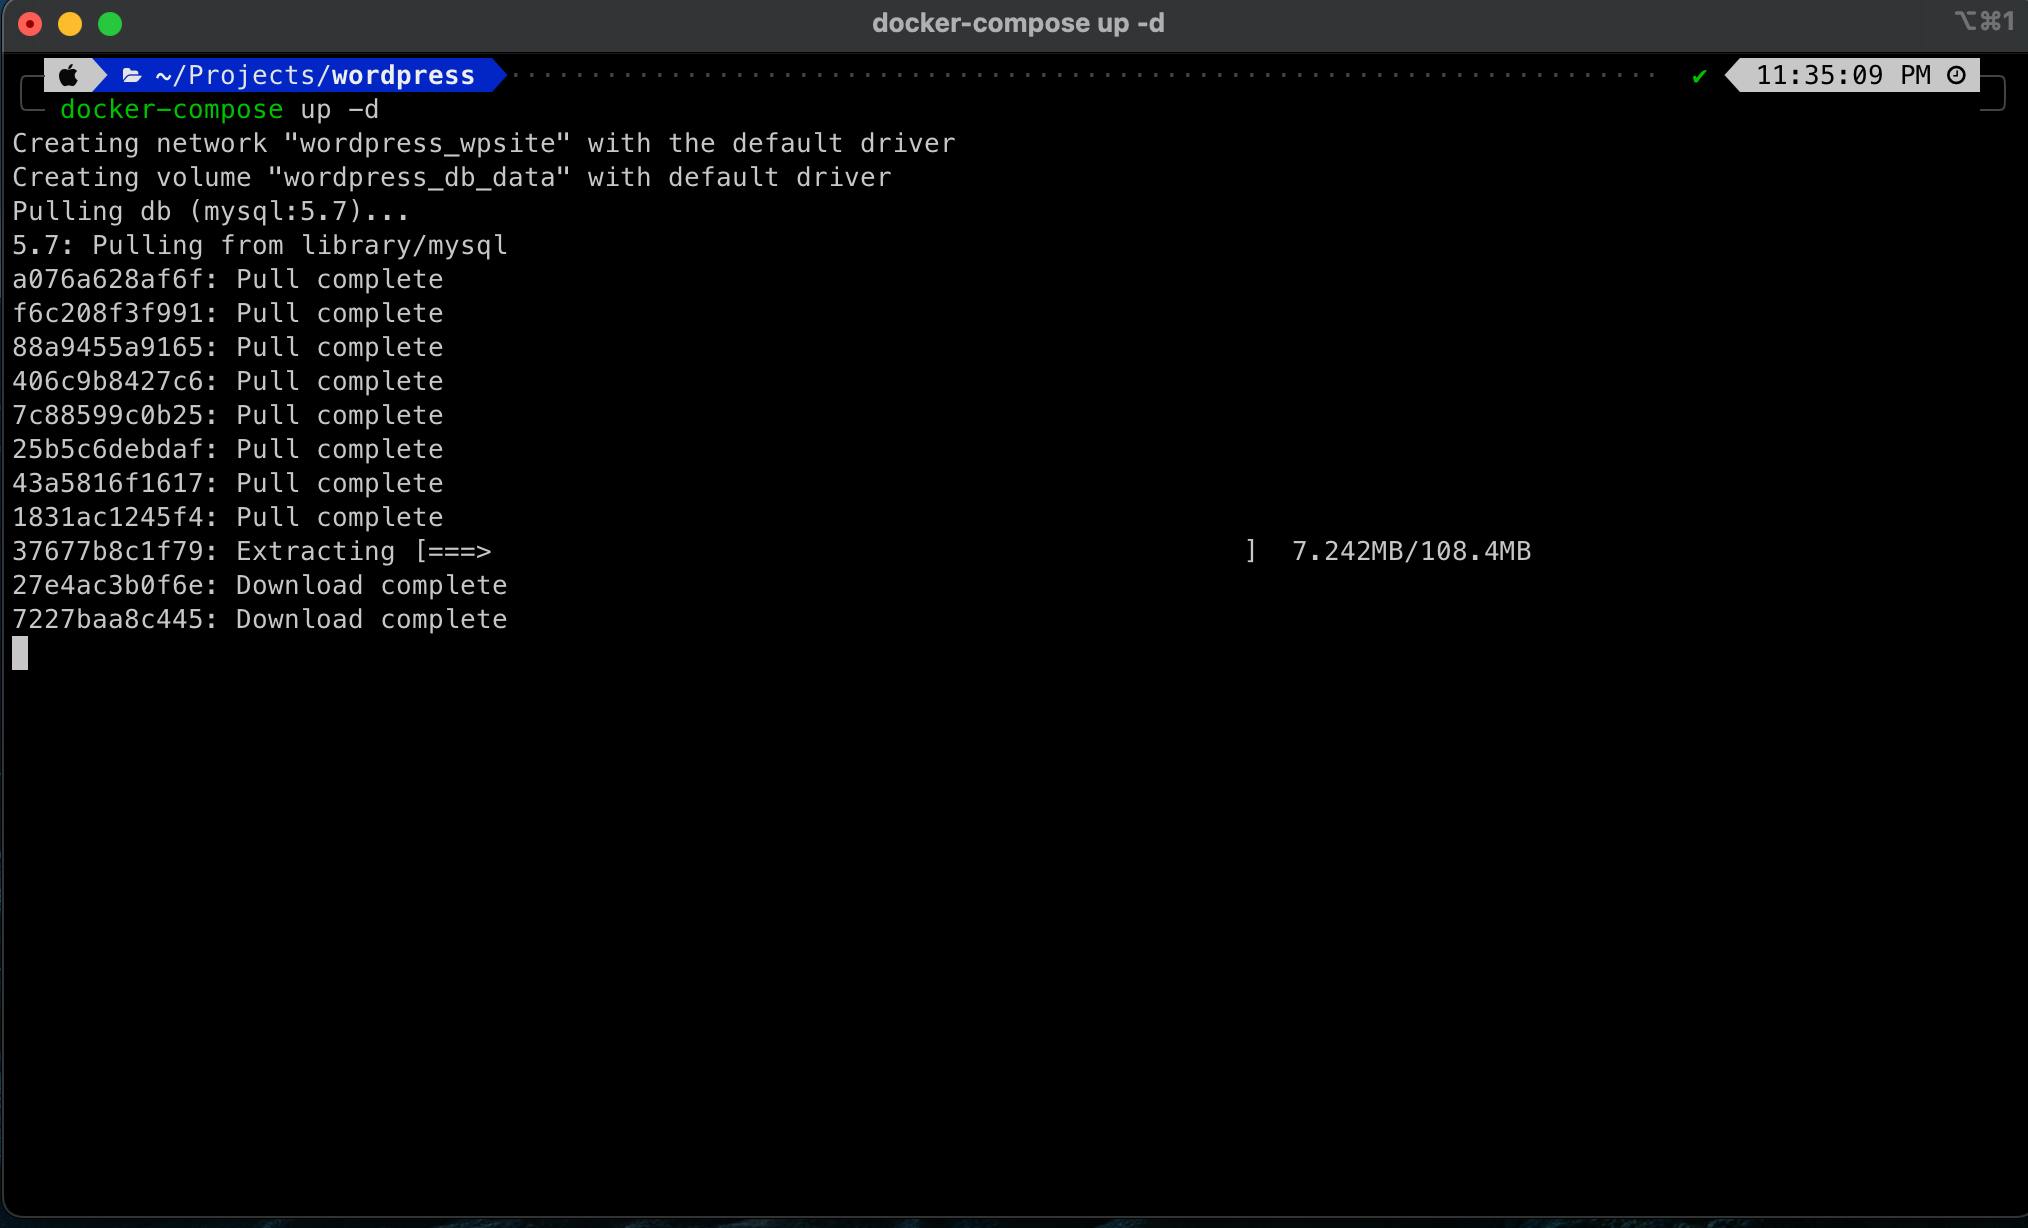
You should now start to see files and folders being added to the
wordpressdirectory.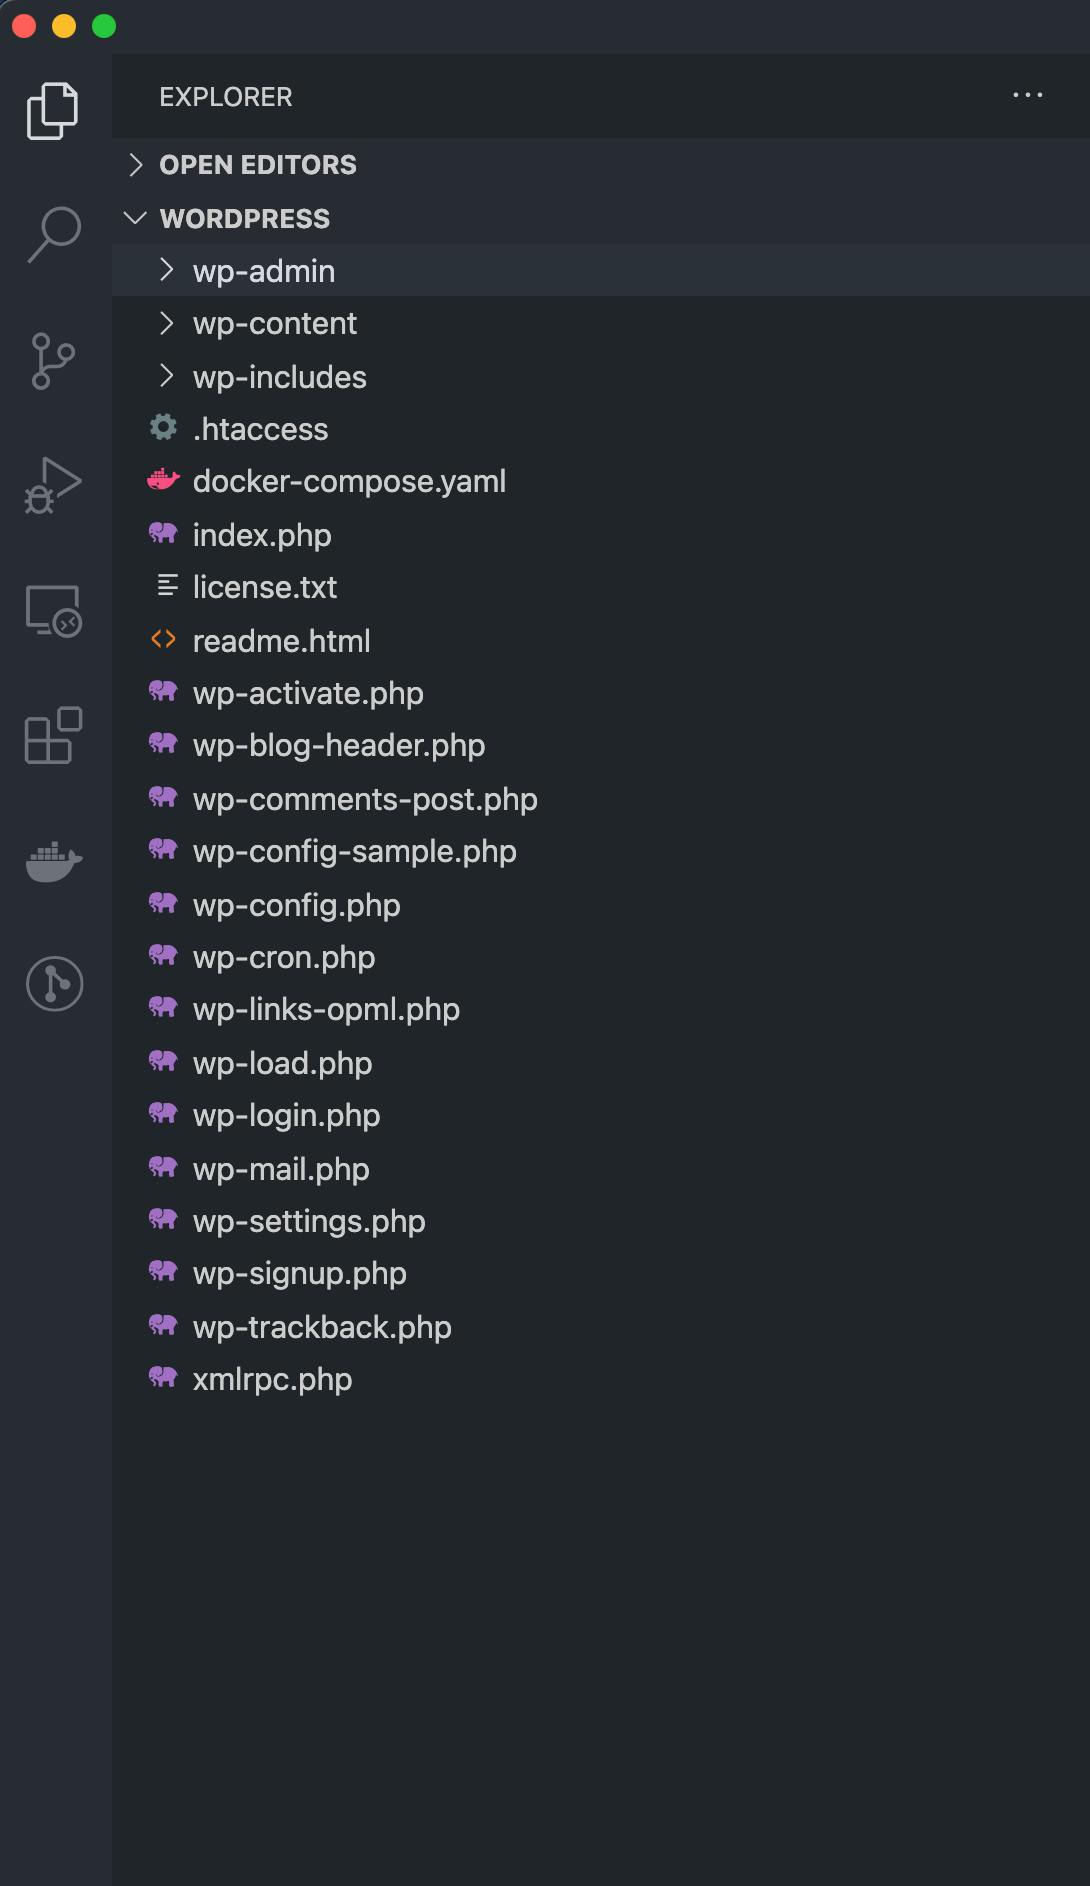
The above command will start the containers in
detached mode, meaning it will run in the background and you can close your terminal if you like when it has completed all the downloads.At this point we should be able to access our WordPress site at
http://localhost:8000and phpmyadmin athttp://localhost:8080.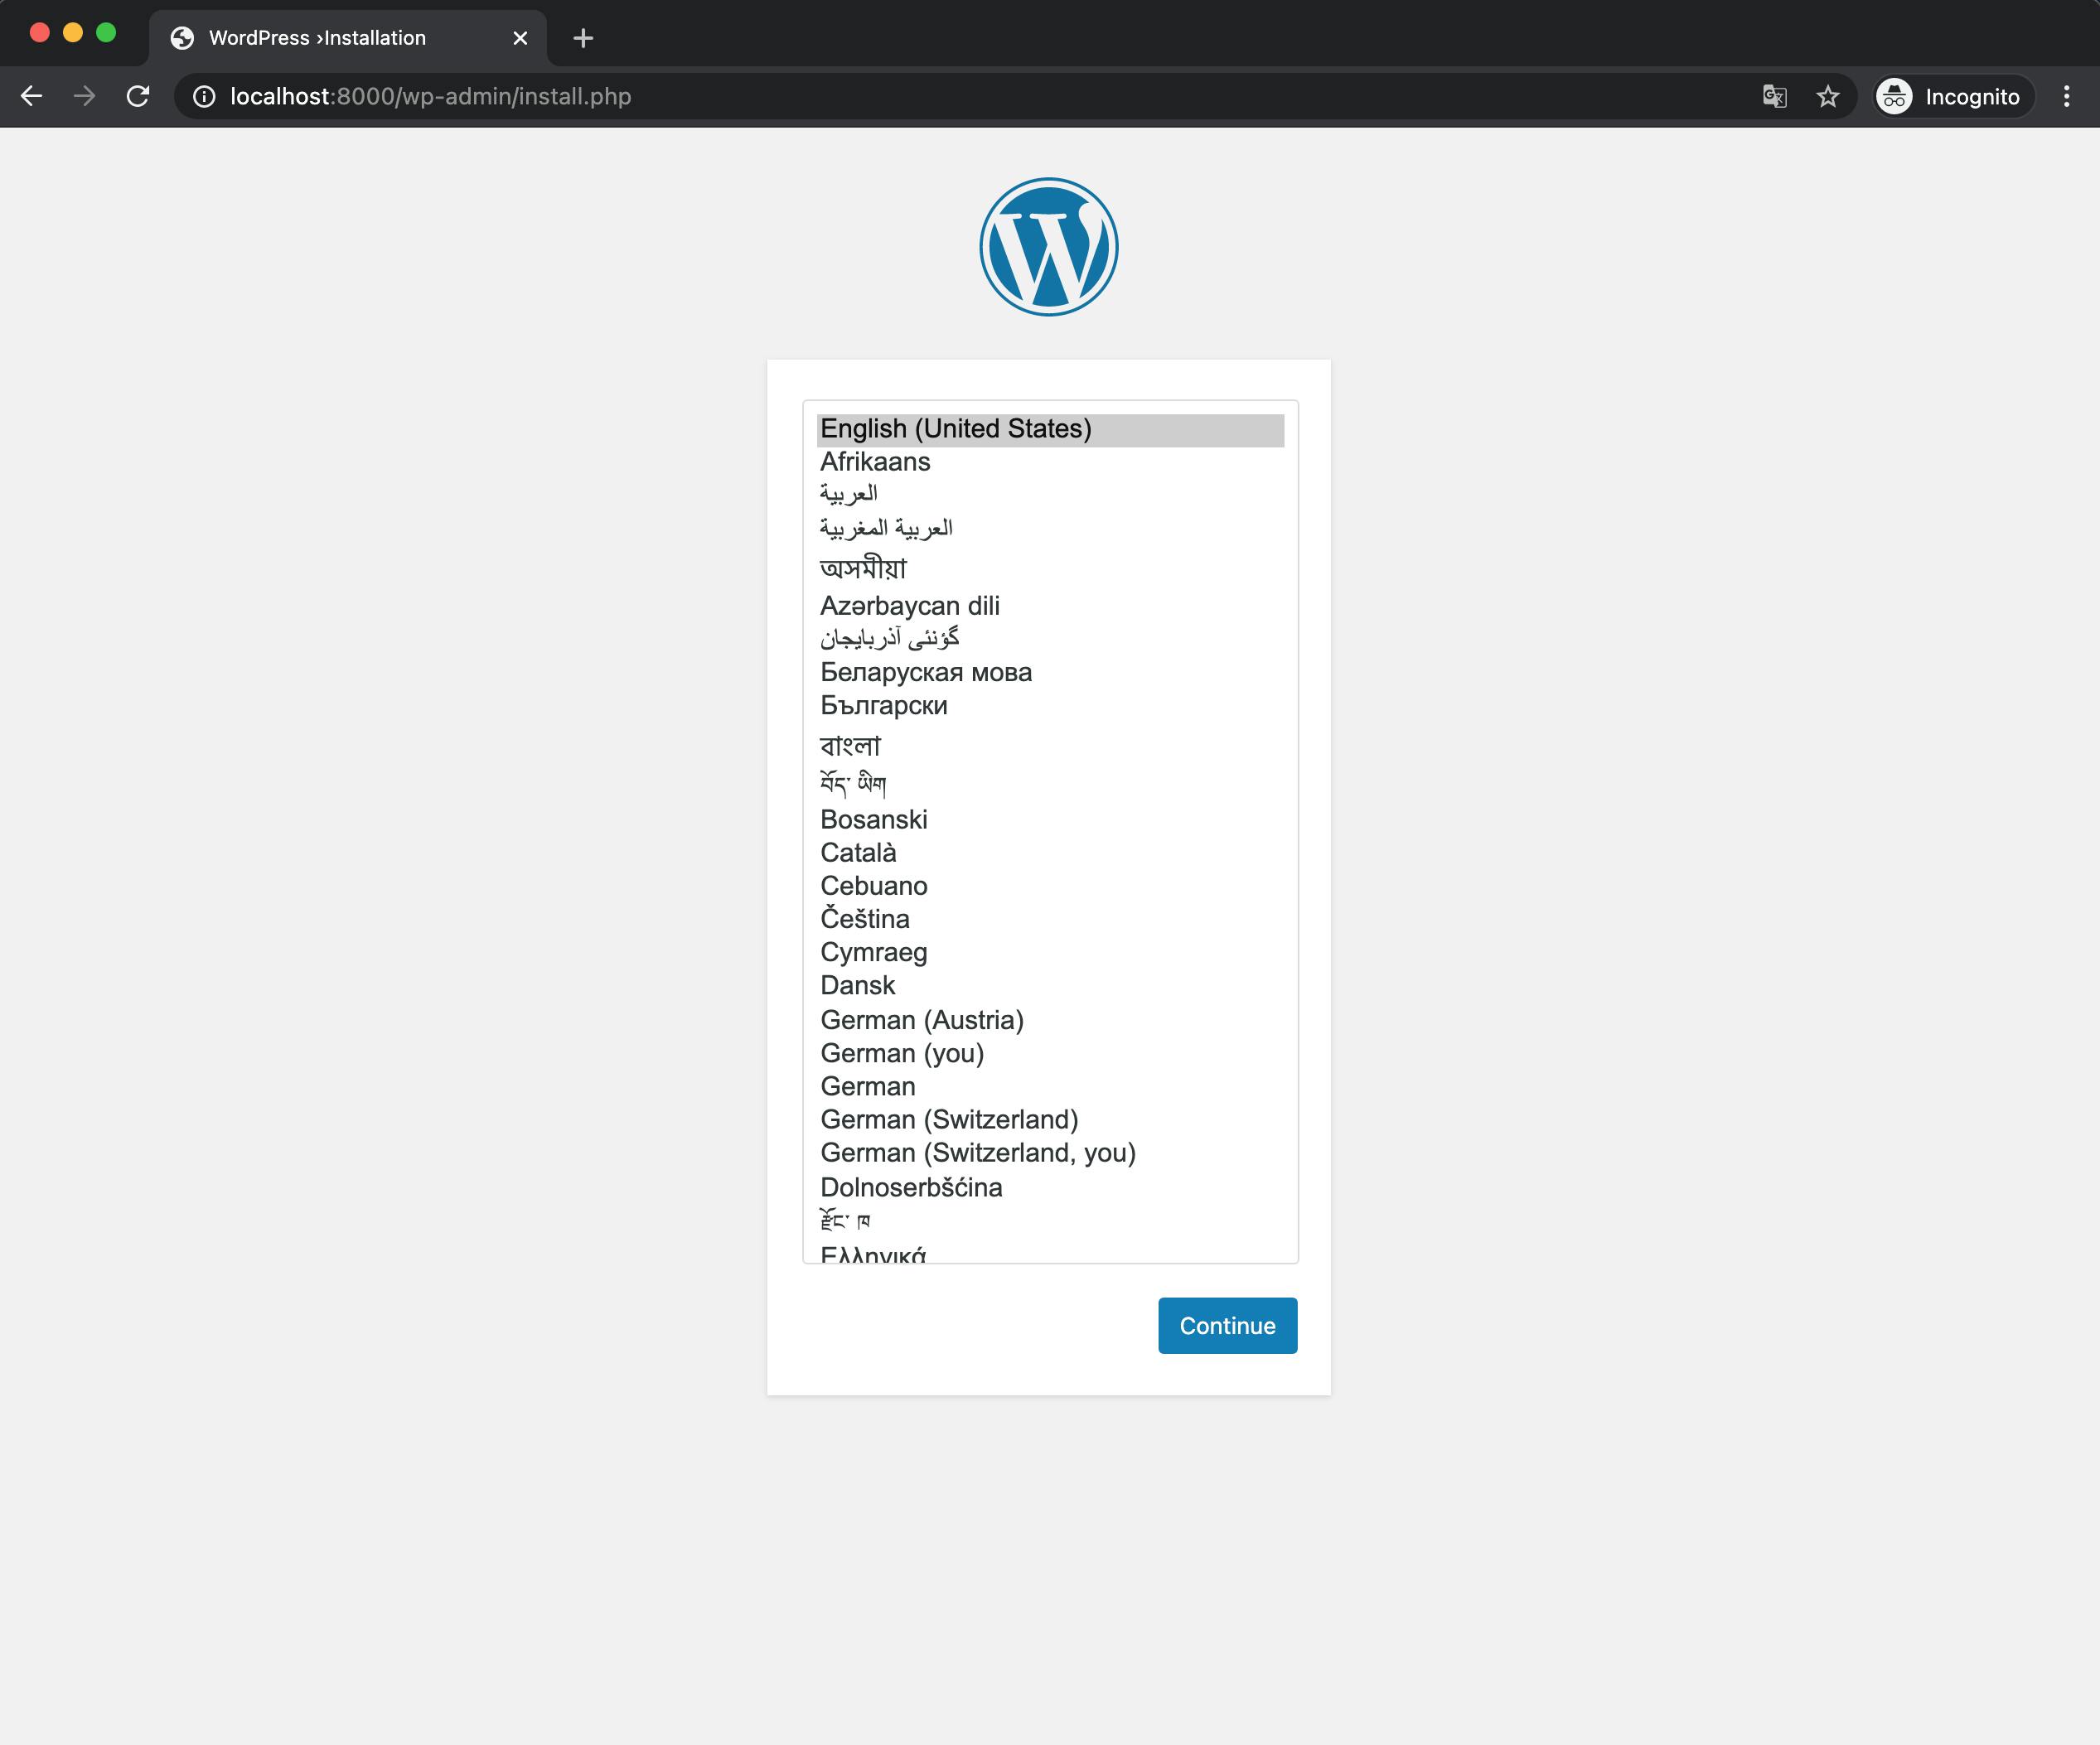
Select the language you want to use and click
Continue.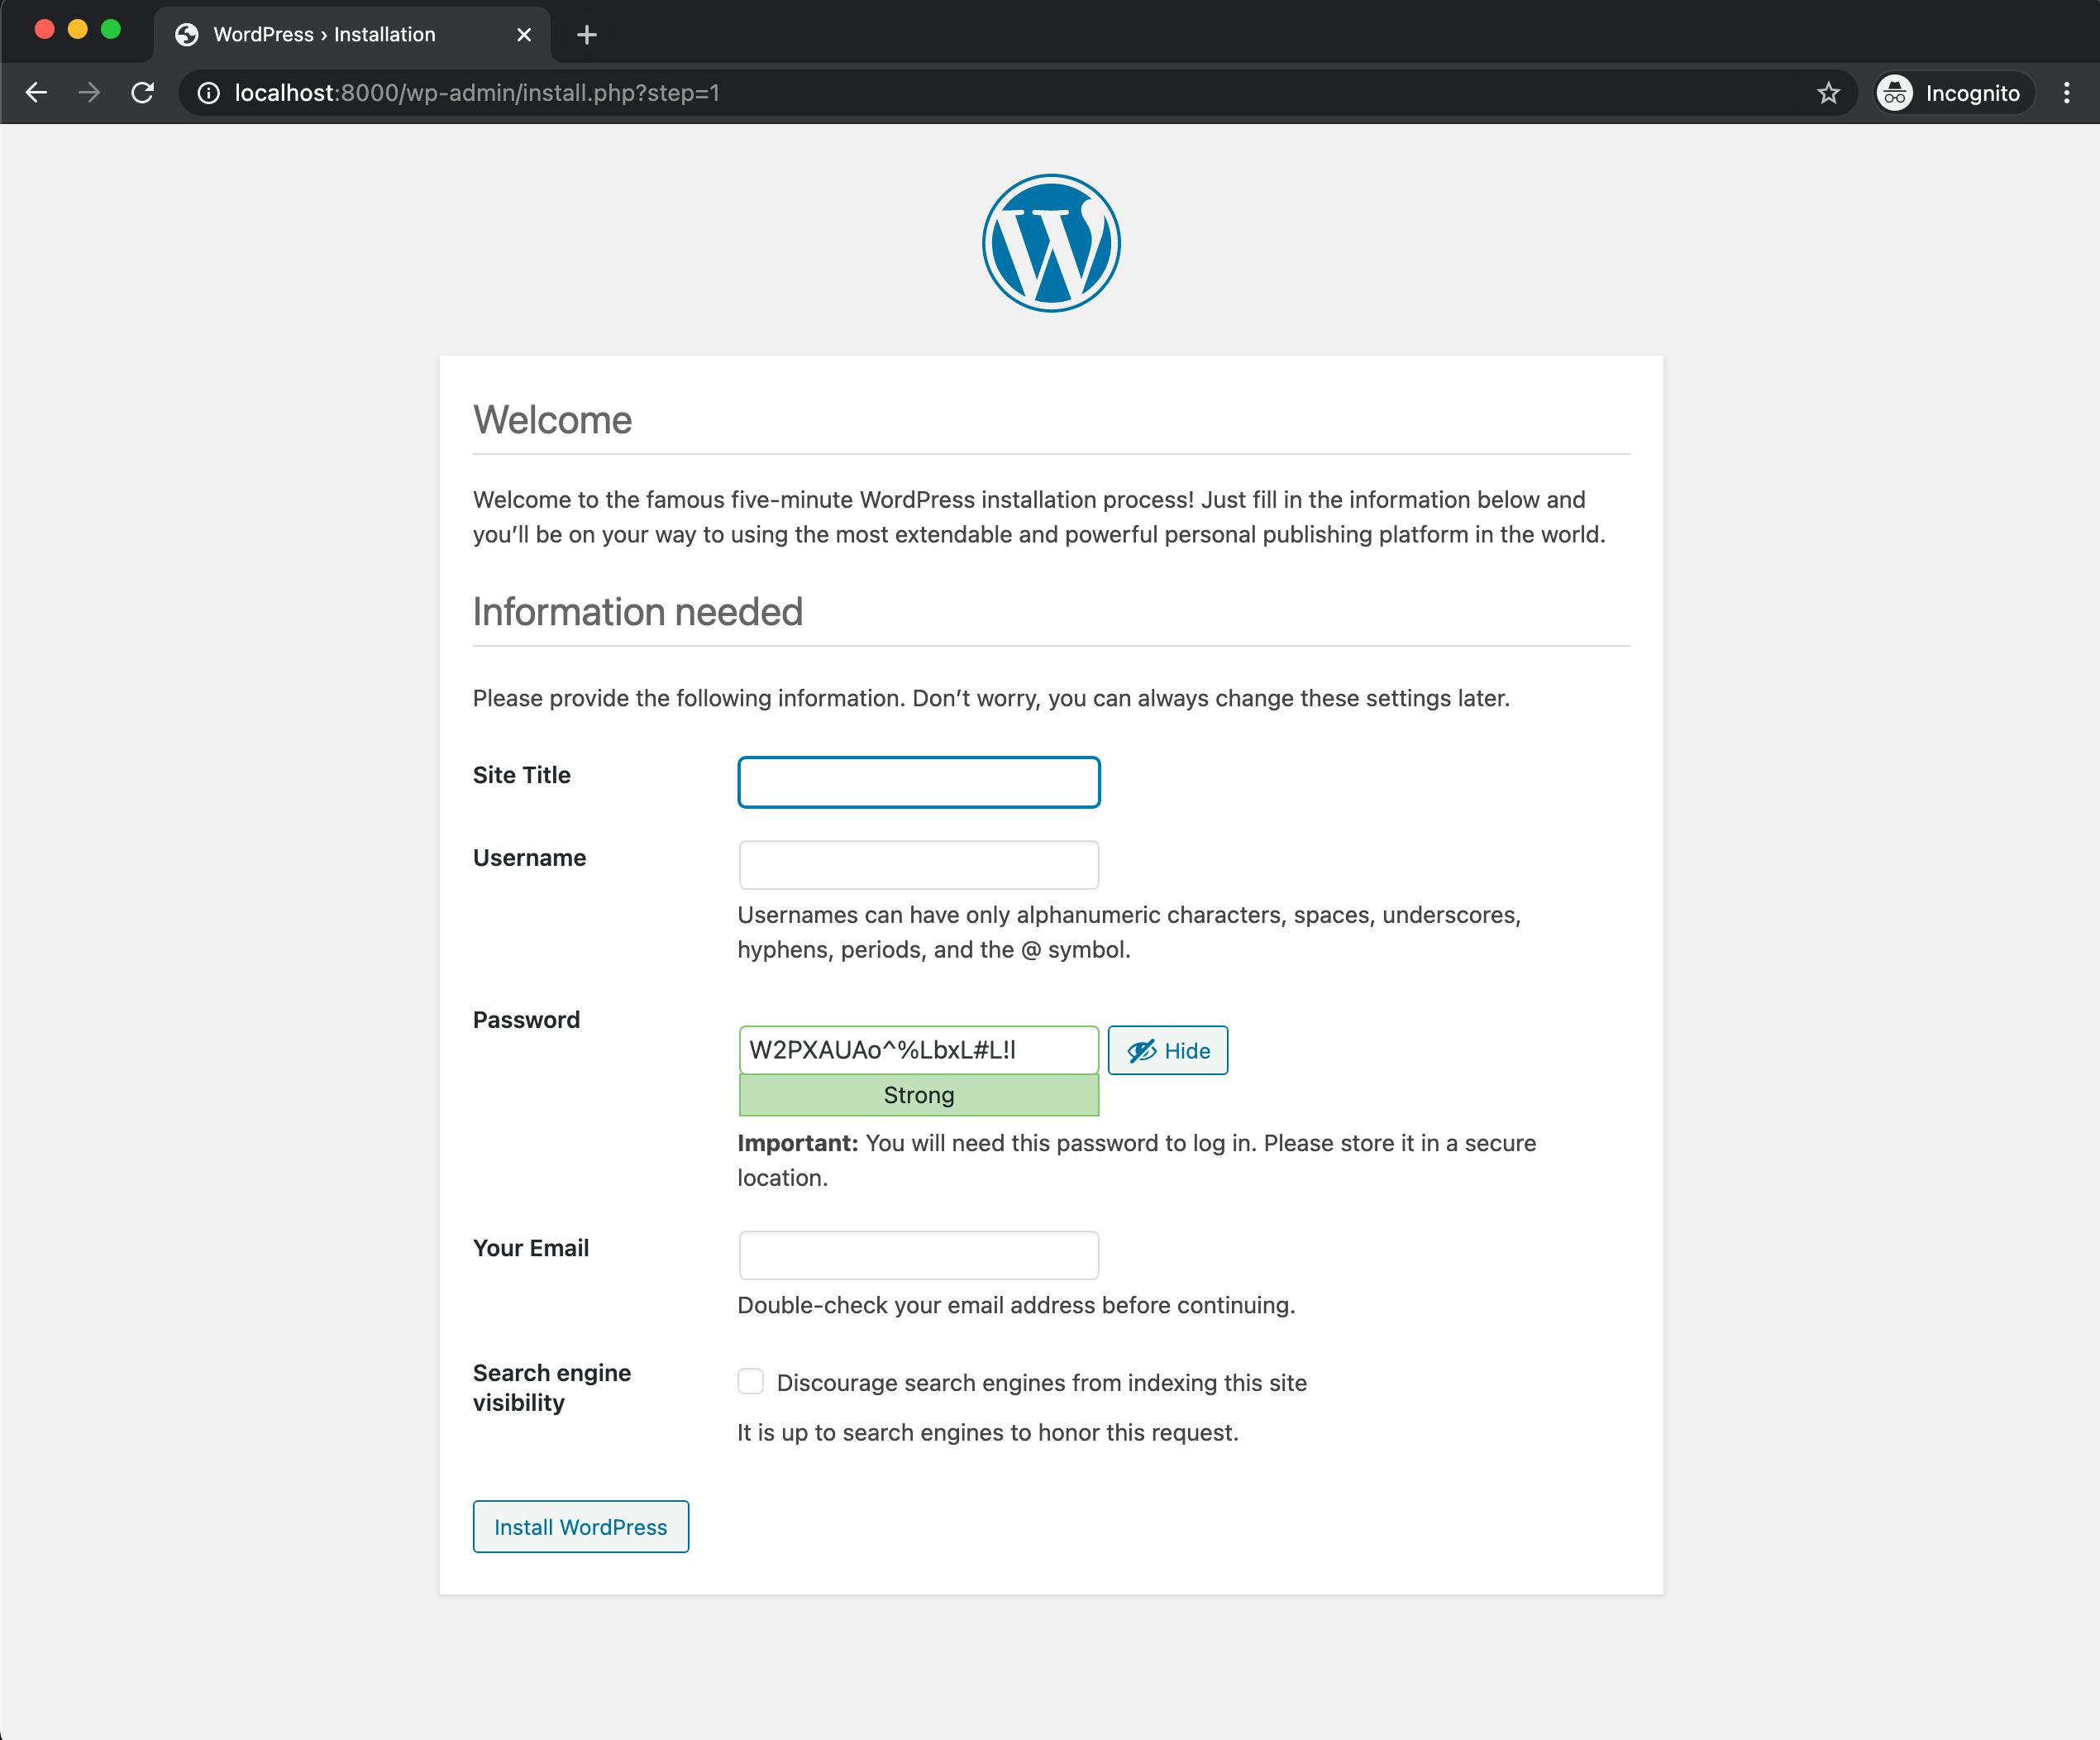
Fill out your sites details and click
Install WordPress.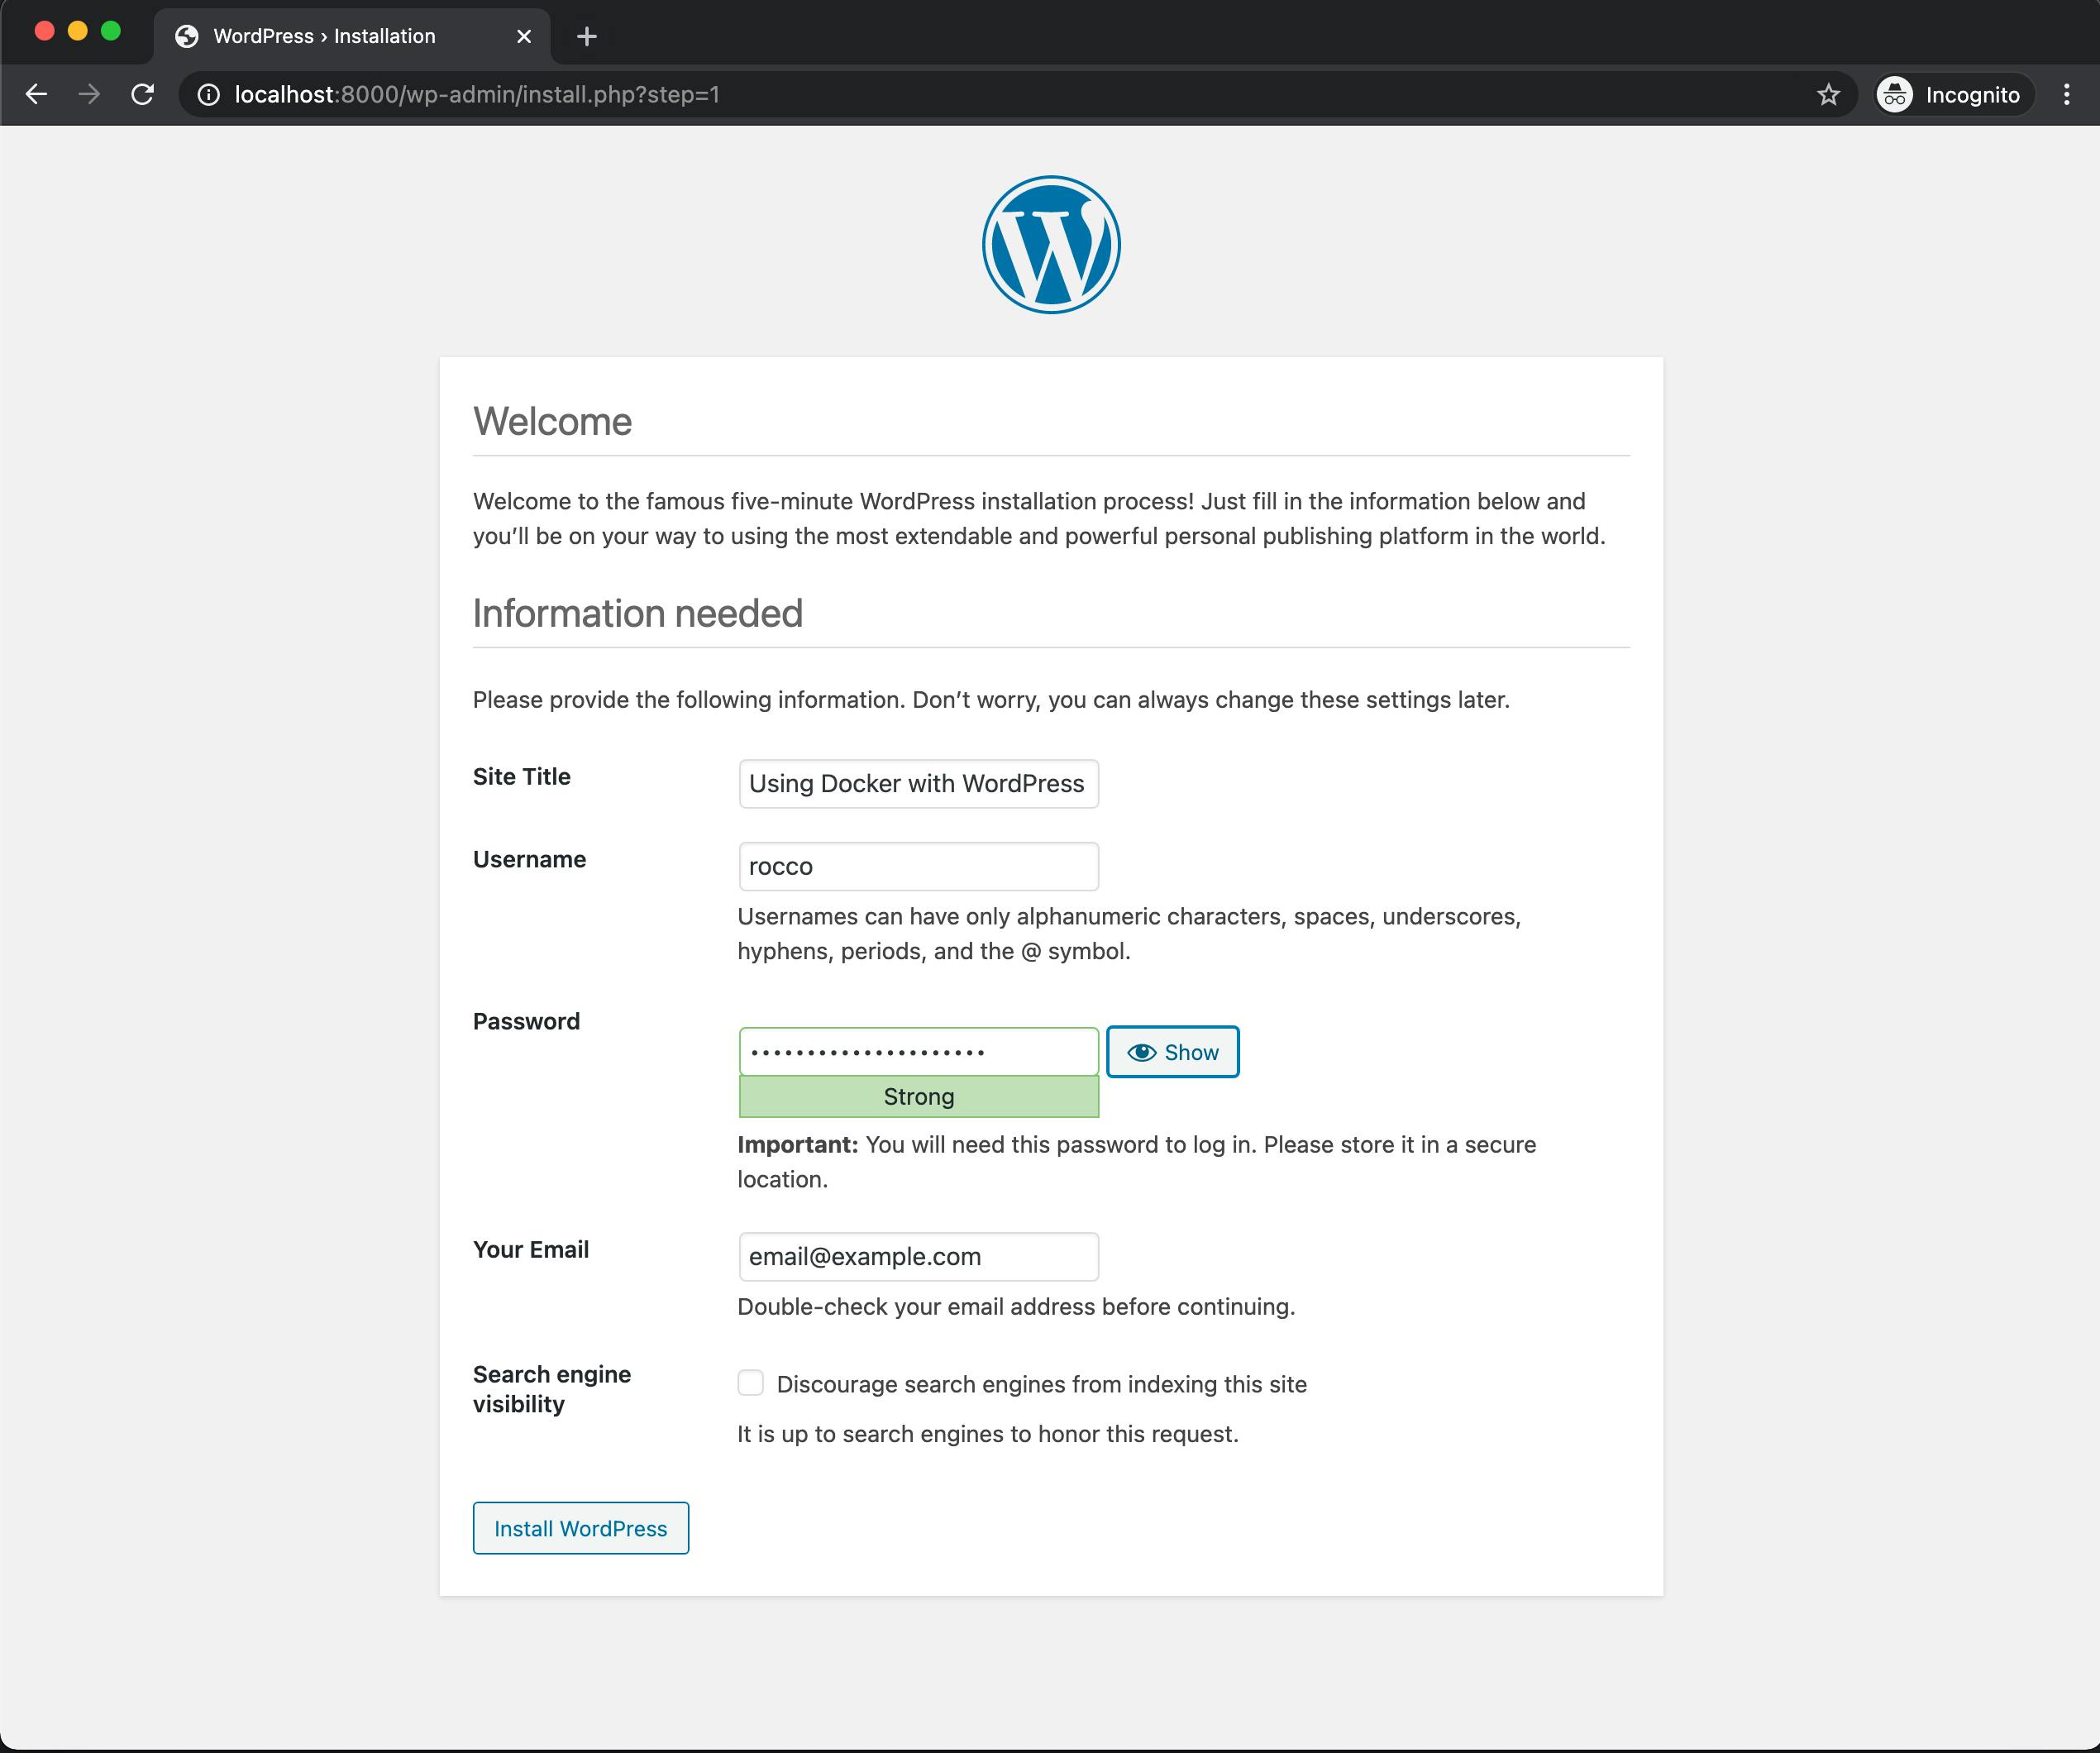
SUCCESS!
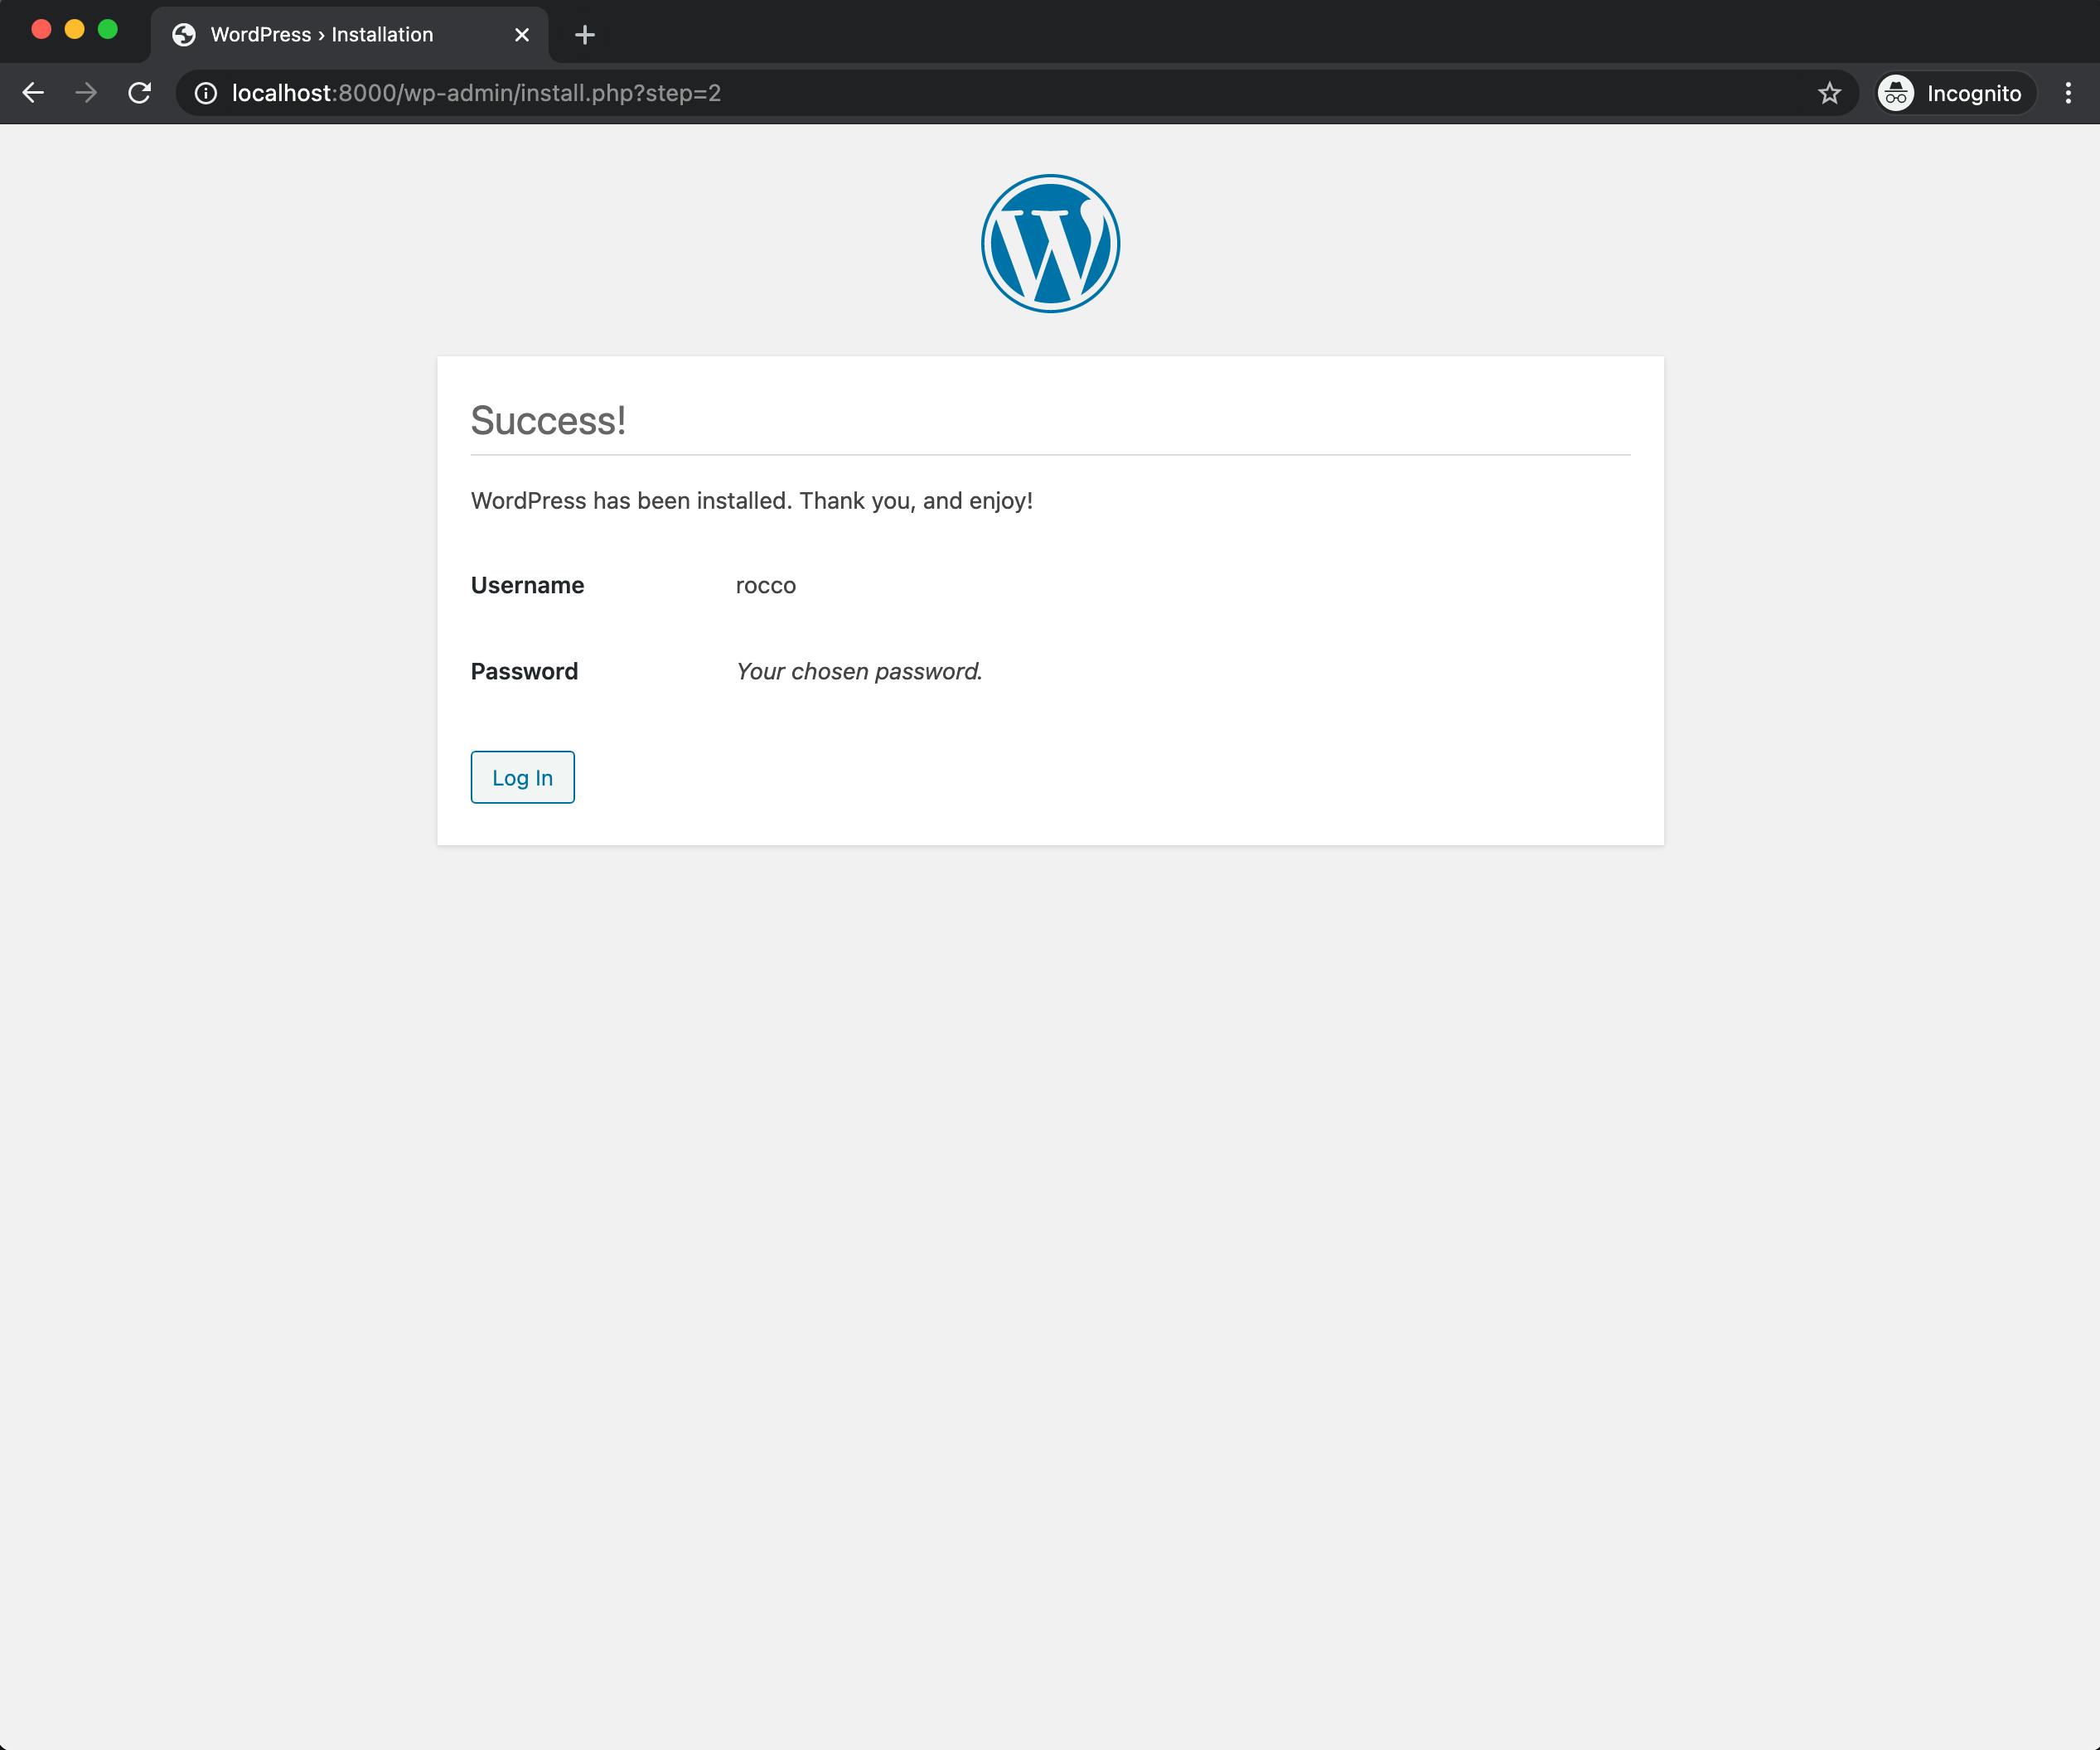
Congratulations you now installed WordPress using Docker! You can build your plugins and themes as you normally would inside
wordpress/wp-content/directory.
Stopping the WordPress Container
Once we are done building our site and we no longer need our containers running there are two ways to achieve this.
Navigate to
~/Projects/wordpressin your terminal and enter the below command if you want to stop the running containers, but want to save all data associated with your site.docker-compose downNavigate to
~/Projects/wordpressin your terminal and enter the below command if you want to stop the running containers and remove all data associated with your site.docker-compose down --volumes
Conclusion
There are a few ways you can get WordPress running locally, however I have found using Docker makes it easier. I can count on the fact that all the right dependencies will be used and I don't have to install specific applications on my machine. If you are interested in learning more about what tools and application I use for development check out my Setting up a web development machine article.